
Artillery at Antietam: A Guide to the Cannons

Silas Weaver
Silas Weaver has spent decades exploring historic battlefields, reading primary journals, and tracking down the lesser-known stories of the American Civil War. His lifelong passion for 19th-century history comes through in his engaging accounts of the places, people, and lingering questions of the era. He believes that walking the actual grounds where history happened is the best way to truly connect with the past.
I have walked Antietam in all kinds of weather, but the day that always sticks with me is a quiet, blue-sky morning when the grass was wet enough to soak my boots. You can hear the creek and the crows and your own footsteps, and then you round a rise and there they are: rows of cannon aimed across open fields that look far too peaceful for what happened here.
Antietam is often described as the bloodiest single day in American history, with roughly 23,000 soldiers killed, wounded, or missing on September 17, 1862. What gets lost in the shorthand is how much of that day was shaped by artillery. Guns opened the fight, steadied shaky infantry lines, punished attacks in the open, and in places like the Cornfield and around the Sunken Road, fired so persistently that men later wrote about the air itself seeming torn apart.
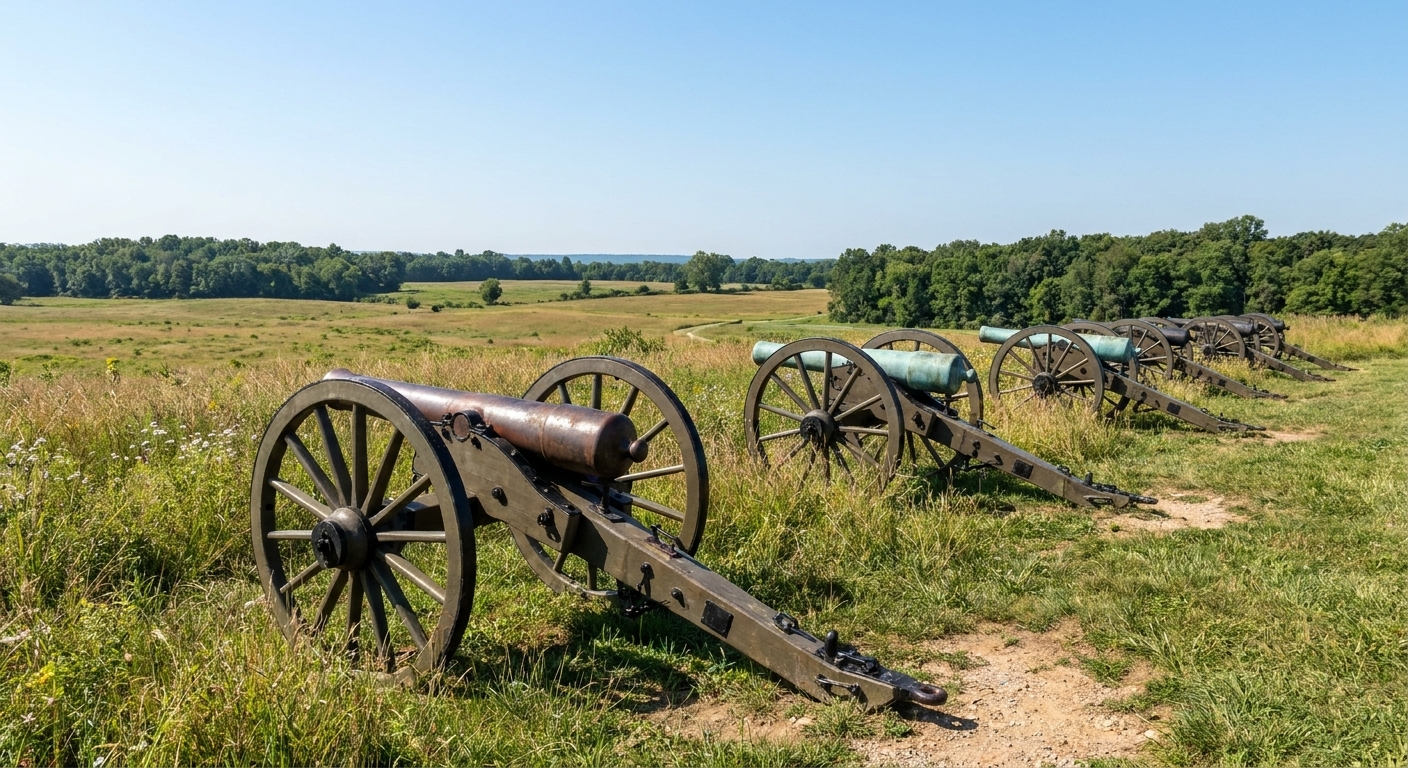
This guide does two things. First, it breaks down the main types of artillery used at Antietam in plain language: what the guns were, what ammunition they fired, and what that meant for soldiers on the receiving end. Second, it helps you find surviving cannons placed today at some of the battle’s most important artillery positions, so you can stand where the gunners stood and read the ground the way they had to.
How to read a cannon line
If you want Antietam’s artillery to make sense, start by watching what the ground forces you to do. Battery commanders hunted for three things:
- Fields of fire: open lanes where canister or shell could reach targets without trees, fences, or rises blocking the shot or deflecting its path.
- Firm ground: a gun and limber team needed solid footing. Mud turned a sleek drill into a wrestling match.
- Cover and withdrawal routes: a ridge crest could hide gun teams, and a farm lane or reverse slope could save a battery when infantry pressure got too close.
On the modern battlefield, cannon are typically positioned to indicate where batteries fought, sometimes aligned toward their historical targets. Do not assume a tube’s exact angle is perfect down to an exact historical bearing, but do trust the placement. The National Park Service does an admirable job using guns to teach the terrain.
Before you go any further, it helps to know how to plan a visit that gives you time to stop, look, and think. I keep my own outings simple and slow. If that is your style too, see Plan a Civil War Battlefield Day.
Main gun types at Antietam
Both armies brought a mix of smoothbore and rifled artillery to Maryland in September 1862. If you stand among the guns today, you will see both styles represented, and their differences are not just technical trivia. They shaped where batteries could deploy and what they could do.
12-pounder Napoleon
If you had to pick one cannon to represent Civil War field artillery, it is the bronze 12-pounder “Napoleon.” It was common, dependable, and brutally effective at the ranges most fights actually happened.
- What it did best: smash infantry at close to medium range.
- Why commanders loved it: it could fire solid shot, shell, spherical case, and canister with confidence.
- What soldiers feared: canister. Think of it as a giant shotgun blast of iron balls, intended to shred formations in the open.
At Antietam, where much of the fighting compressed into farms, lanes, and fields, Napoleons were in their element. When you see a battery line positioned to rake an approach across open ground, odds are good that at least some of those guns were Napoleons or other smoothbores firing canister.
3-inch Ordnance Rifle
These iron rifles are sleek compared to the chunkier smoothbores. The 3-inch Ordnance Rifle had a reputation for accuracy and durability. Rifled projectiles gave it better long-range performance than a smoothbore.
- What it did best: accurate fire at longer ranges, counter-battery work, and punishing columns or batteries exposed on ridges.
- What it lacked: the same throw-weight at close range that a big smoothbore could deliver, though it could still use canister when needed.
10-pounder Parrott Rifle
Parrott rifles are often identifiable by a reinforcing band around the breech. They came in several sizes, with the 10-pounder common in field service. They were valued for range, and they also earned a reputation, sometimes exaggerated, for occasional bursts. That worry tended to cling more to the larger calibers, but the rumor colored how some men remembered them.
- What it did best: long-range harassment, shelling roads and ridges, and engaging enemy batteries from positions that a smoothbore could not reach effectively.
6-pounder and other smoothbores
By 1862, 6-pounders were increasingly outclassed, but you still see them mentioned in batteries that had not been fully modernized. They were lighter and handier, but they did not hit like a 12-pounder.
Ammo in human terms
Visitors often ask me, “What kind of shot am I looking at?” Here is a quick field guide in human terms:
- Solid shot: a cannonball meant to smash through lines, bounce, and keep killing. Also used to batter guns, caissons, and fences used as cover.
- Shell: an exploding projectile. It could scatter fragments, start fires, and shake up troops even when it did not hit directly.
- Spherical case: a timed burst that scattered small balls forward. Many people casually call this “shrapnel,” but Civil War spherical case is its own thing, and not quite the later Shrapnel shell you may have heard about.
- Canister: a tin can packed with iron balls. The container breaks apart as it leaves the muzzle and the balls spread fast into a widening cone. Devastating at close range. If a battery held its nerve and waited, canister could stop an assault cold.
Where to find the cannons
Antietam National Battlefield is one of the best places in the country to study artillery because the ground still reads clearly, and the gun placements help you orient yourself. Below are the spots I return to when I want to understand how the battle unfolded through its artillery.
A note on expectations: many battlefield cannon serve as postwar position markers, placed by veterans, state commissions, and later battlefield managers. Some tubes are period pieces, some are reproductions, and even when a gun is “right,” the exact placement may be approximate. Either way, they are doing the same job for you today: marking fields of fire and making the terrain legible.
Cornfield and East Woods
The early fighting north of the Dunker Church area was a churn of infantry and artillery. Batteries were brought up to support attacks and to keep pressure on the opposing lines as units fed into the corn and out again in tatters.
- How to find it: follow the park’s main tour route to the Cornfield and East Woods stops. You will see gun lines near the open edges where the ground drops and opens.
- What to look for: cannon placed where a battery could fire into the Cornfield approaches and the open stretches near the East Woods.
- What to imagine: smoke hanging in the tree line, intermittent visibility, and gunners judging range by instinct and glimpses.
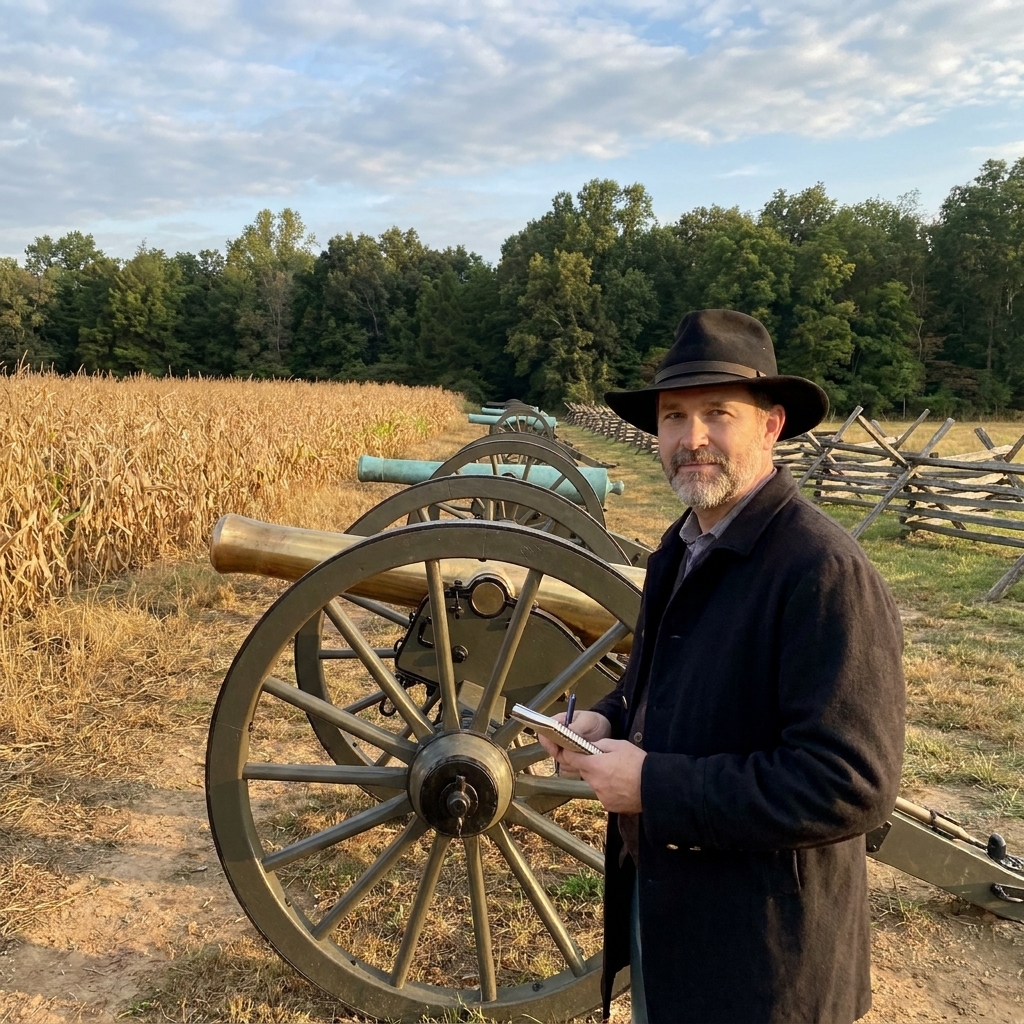
Dunker Church plateau
Even if you arrive knowing nothing, the terrain around the Dunker Church tells you it mattered. Rises and open ground create natural artillery platforms and obvious lines of advance. Batteries here could influence fighting in multiple directions, which is exactly why the area became such a focal point.
- How to find it: go to the Dunker Church area and walk the open ground nearby. The gentle high spots are obvious once you are standing on them.
- What to look for: cannon placed on broad, shallow high ground with wide views. Notice how little elevation is required to dominate a field when the surrounding country is rolling rather than mountainous.
If you enjoy tying battlefield ground to larger operational choices, you will likely appreciate the way small delays and cautious moves ripple outward. While it covers a different campaign, the same kind of decision-making is explored in Why McClellan Hesitated in the Peninsula Campaign.
Sunken Road (Bloody Lane)
The Sunken Road is remembered for musketry and the terrible geometry of a lane turned into a defensive trench. But artillery mattered here too, especially once guns could be brought to bear on exposed segments and on the exits that men needed to use to reinforce, retreat, or counterattack.
- How to find it: stop at the Sunken Road area on the tour route and look up to the higher ground on either side. The guns you see are there to help you understand angles and exposure.
- What to look for: cannon placed on rises that can rake the lane or fire into its approaches.
- What to notice: how difficult it is to shift a gun quickly once infantry is close and the ground funnels movement.

Pry House area
The Pry House sector, known to many as McClellan’s headquarters, sits in ground that feels uncomfortably open. That openness is instructive. It shows you how artillery positions could be strong and vulnerable at the same time. A battery with a good field of fire also makes itself a target.
- How to find it: use the park stop for Pry House and walk out until you can see long stretches of open field in multiple directions.
- What to look for: guns positioned to cover broad approaches. Stand behind them and look over the sights. You will see why counter-battery fire was such a constant threat.
Burnside Bridge
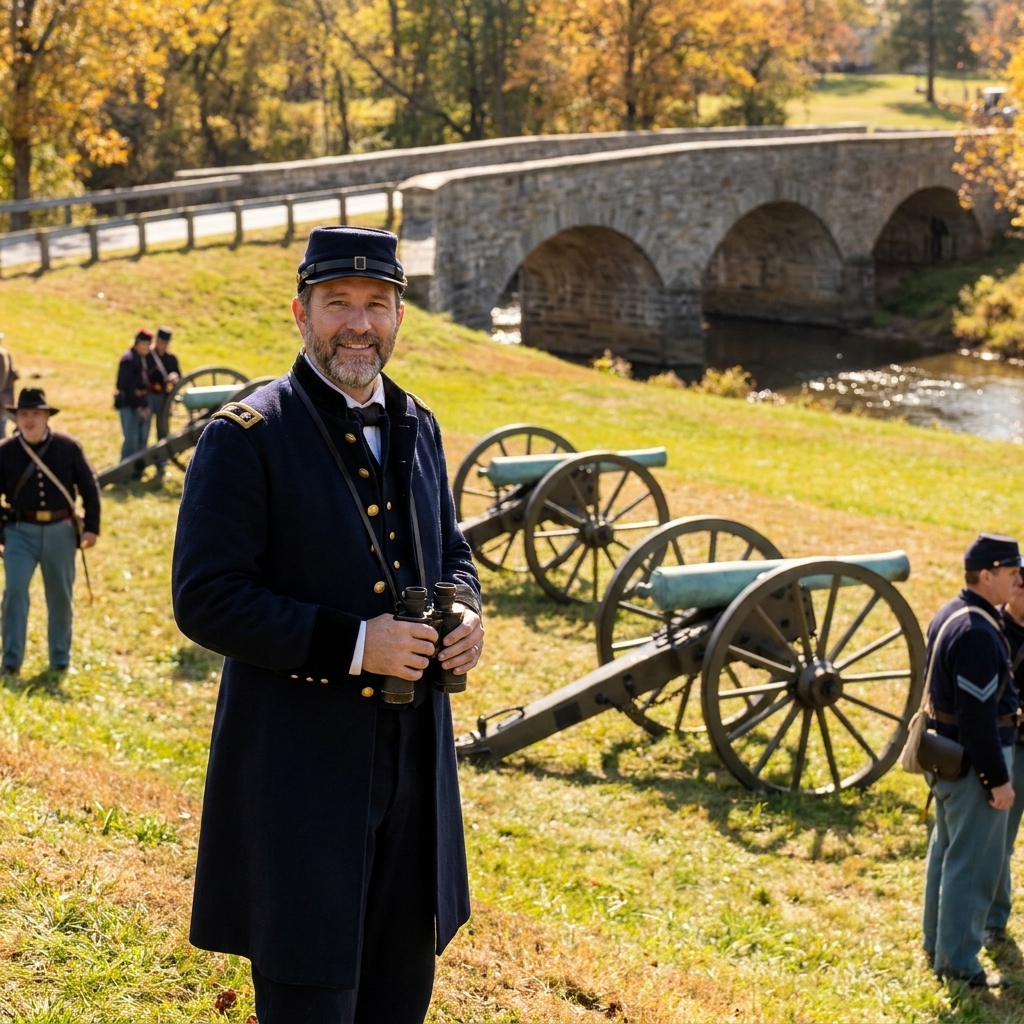
On paper, a bridge crossing looks like a neat tactical problem. In real life, it is men trying to move through a narrow choke point while under fire from heights. Artillery played a role here by threatening the approaches, helping defend the bluffs, and later supporting movement beyond the creek.
- How to find it: park at the Burnside Bridge area, then look up toward the bluffs above the crossing. The elevation and the clear lanes toward the approaches explain everything.
- What to look for: cannon placed where they can watch the bridge approaches and the roads climbing away from the water.
- What to imagine: how hard it is to bring guns forward across constricted routes, especially when the fight is already underway.
Afternoon fields south of the bridge
The late fighting southeast of the main morning hotspots often feels more spacious when you walk it, but that does not mean it was gentle. If you continue beyond Burnside Bridge into the rolling ground and long views on the far side, you start to feel how rifled pieces could reach across distance and influence movement in ways infantry could not manage alone.
- How to find it: keep following the park’s driving route into the southern portion of the field after the bridge area. Look for open sight lines that run along roads and over broad, sloping farmland.
- What to look for: positions with long views down approaches and across open ground. These are the places where range and accuracy mattered.
What cannons show up close
Once you are standing next to a gun, details start to matter. Here are a few things I always check, because they make the weapon feel less like scenery and more like a machine that had to be worked under pressure.
- The tube shape: rifled pieces often look longer and slimmer. Smoothbores can look stouter. Do not rely on this alone, but it is a good first guess.
- The carriage: the wooden carriage and iron fittings are a reminder that mobility was as important as firepower. A gun that could not be moved was a gun that could be lost.
- The ground behind the gun: where did the limber and caissons sit? How would a crew bring up ammunition? Was there a reverse slope for shelter?
- Spacing: batteries did not park wheel-to-wheel. They needed room to work, recoil space, and room for horses and ammunition traffic.
If you are visiting with kids or first-timers, artillery is often the hook that makes the rest of the story stick. I have seen a child’s whole posture change when they realize a “cannon” is not just a museum piece, it is a complicated team effort. For practical ideas, see How to Keep Kids Engaged on a Civil War Battlefield Trip.
Gun crews in real life
It is easy to talk about calibers and ranges until you remember what a gun crew looked like. A field battery was often organized around six guns, and each piece took a drilled team to keep it running. The crew at the gun handled the immediate work. The limber and caissons behind them fed ammunition forward. The horses did the hauling, and they paid their own price when fire found the battery line.
Usually, it was a handful of young men moving with drilled speed: swab, load, ram, aim, fire, run the piece back into battery, and do it again. They worked around flying iron and splintering wood, with horses screaming and ammunition boxes that could turn one lucky hit into instant disaster.
When you stand among the cannons at Antietam today, try a simple exercise. Pick a target in the distance. A fence line. A ridge. A road cutting across the field. Then ask yourself what you would do if that target started firing back, and the infantry in front of you began to fall away. That is the moment artillery becomes more than hardware. It becomes decision, nerve, and time.
Photographing the guns
Cannons are among the most photogenic objects on any battlefield, but it is easy to take the same picture everyone else takes. I try to photograph them in a way that shows what they were meant to do.
- Shoot along the line of fire: place the barrel in the foreground and let the field stretch away.
- Use low angles sparingly: they can make a gun look dramatic, but sometimes a level horizon tells the terrain story better.
- Include ground clues: fences, lanes, and rises explain why the gun is where it is.
- Visit in winter light: bare trees open sight lines and help you see the battle’s geometry.
If you want more battlefield photo ideas that emphasize terrain and perspective, I put together some favorite spots and approaches in 7 Stunning Vantage Points for Civil War Battlefield Photography.
FAQ
How many cannons were at Antietam?
There were hundreds. A reasonable way to hold it in your head is that the Union brought roughly the high 200s in guns and the Confederates roughly the low 200s, depending on how you count batteries present, pieces temporarily out of action, and guns detached or arriving late. Reports were compiled after a day of chaos, so totals vary by source. What matters for the visitor is simpler: artillery was present in strength across all major sectors, and you can still trace that presence by following the cannon lines on the ground today.
Are the cannons on the battlefield originals?
Some surviving tubes are period pieces and some are reproductions or postwar placements used to mark positions. Many of the guns you see function primarily as interpretive markers. The battlefield’s goal is to show where artillery fought and what it could see. Treat the guns as terrain tools first and artifacts second, and you will get more out of them.
How do I tell rifled from smoothbore?
From a respectful distance, rifled field pieces often look longer and more slender, and Parrott rifles have a distinctive reinforcing band around the breech. But the safest answer is also a practical one: use the position and intended role. Rifled guns tend to be placed where long sight lines make sense. Smoothbores, especially Napoleons, are common where close-range stopping power mattered.
Why do so many cannons face empty fields?
Because that is exactly what they needed. Artillery wanted clear lanes. The fields feel empty today because the armies are gone, not because the positions were wrong. When you look out across that “empty” space, try to mentally fill it with moving lines of men, dust, smoke, and the simple fact that an attacker had to cross all of it under fire.
A few ground rules
Antietam is quiet enough that it can feel like a park first and a battlefield second. I try to keep a few habits that fit the place: stay on paths and mown areas where you can, do not climb on the guns, and treat every monument and fence line as something that is both historical and still being cared for. The cannons will teach you more when you slow down around them anyway.
Keep going
If Antietam’s guns pulled you in, you might enjoy broadening the lens to how battles are structured and interpreted on the ground. A good starting point is our overview at Guide to Civil War Battles. And if you are the kind of traveler who likes to connect sites into a longer story, browse Guide to Battlefield Travel for practical planning ideas.
Antietam is a place where artillery feels less like background thunder and more like a language. Once you start recognizing that language, the battlefield opens up. You stop seeing isolated monuments and begin seeing lines, arcs, and dangerous distances measured in seconds.