Walk the rolling ground of Brandy Station, June 9, 1863—20,000 cavalrymen, Fleetwood Hill, Beverly Ford, and the tactics that reshaped the mounted war before...
Top 5 Cavalry Generals and Where to See Their Key Actions
Silas Weaver
Silas Weaver has spent decades exploring historic battlefields, reading primary journals, and tracking down the lesser-known stories of the American Civil War. His lifelong passion for 19th-century history comes through in his engaging accounts of the places, people, and lingering questions of the era. He believes that walking the actual grounds where history happened is the best way to truly connect with the past.
Published
I still remember the first time I tried to “read” a cavalry fight on the ground. It was a quiet morning, the kind where the mist hangs low and every fence line feels like a sentence waiting to be finished. Infantry fields are often straightforward: ridges, stone walls, tree lines. Cavalry ground is trickier. Horses need footing. Charges need space. And good mounted commanders did not just ride hard. They chose when to not charge, when to dismount, and when to turn a country road into a weapon.
This is my ranked list of five cavalry generals who repeatedly got real results from mounted troops, and where you can still go today to stand near their most instructive actions. I am not ranking by romance or reputation. I am ranking by battlefield effectiveness, with an eye toward places you can actually walk and understand.
If you want a broader foundation on officers and how commands worked, start with our guide to Civil War generals. For the practical side of visiting these sites, I also lean on our battlefield travel guide and the quick planning help in Plan a Civil War Battlefield Day.
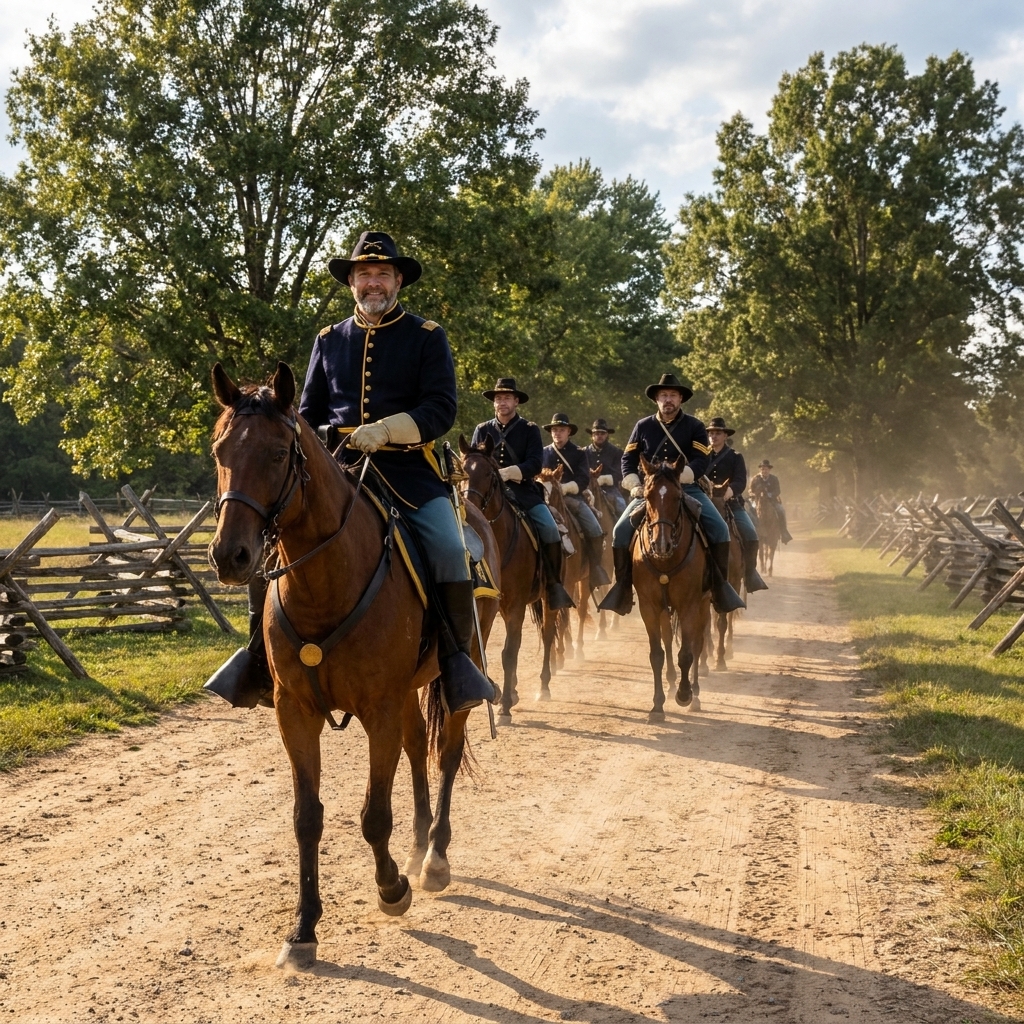
How I ranked them
- Battlefield impact: Did their cavalry materially change outcomes, not just make noise?
- Consistency: One dazzling day is not enough. I favor repeat performance.
- Command skill: Screening, scouting, raids, dismounted fighting, and coordination with infantry and artillery.
- An action you can still understand on the ground: A place where terrain explains the decision.
1) J.E.B. Stuart (Confederacy)
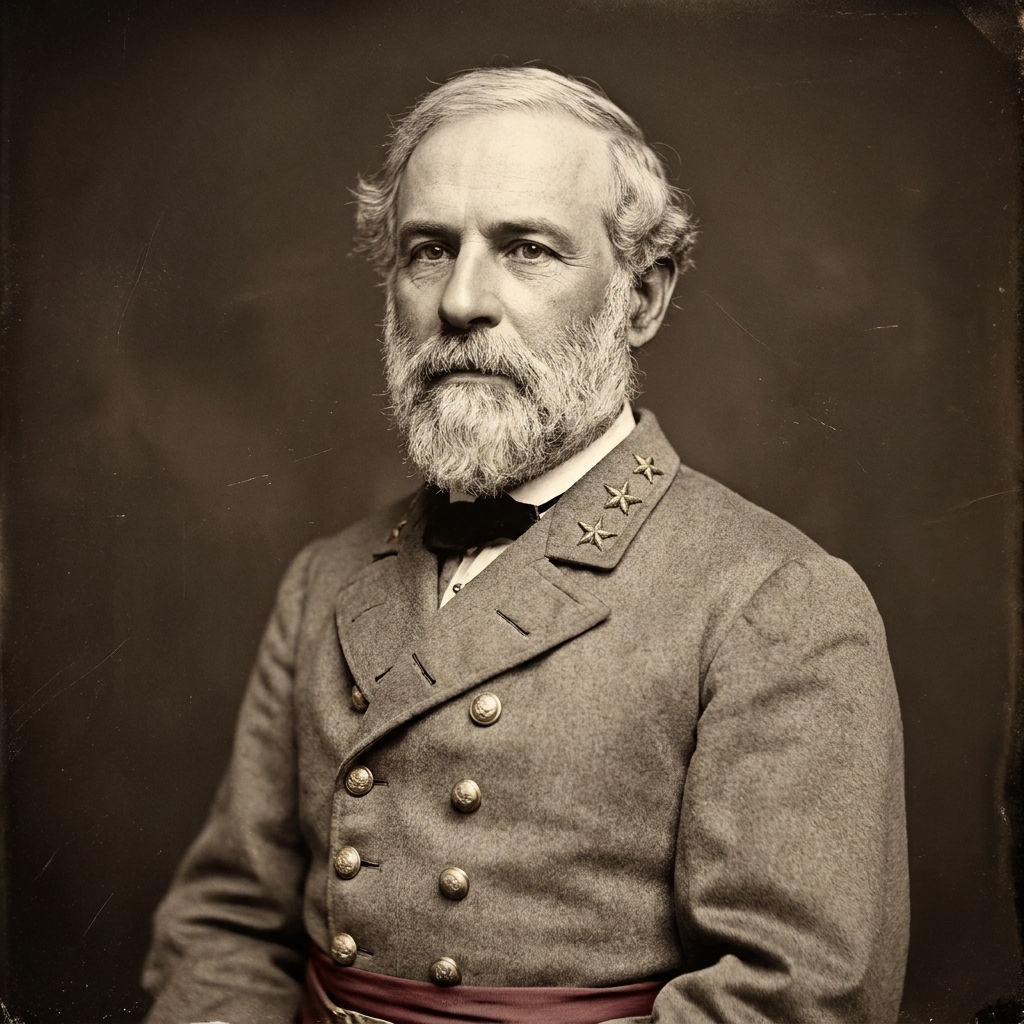
Stuart remains the Confederacy’s most recognizable cavalryman, and he earned that visibility early by using mounted troops the way Robert E. Lee needed them used: as eyes, ears, and a mobile threat that could shake an opponent’s confidence. At his best, Stuart combined boldness with an instinct for timing. At his worst, he let drama outrun duty. That tension is part of why he still matters.
Best ground to walk: Fleetwood Hill, Brandy Station (June 9, 1863)
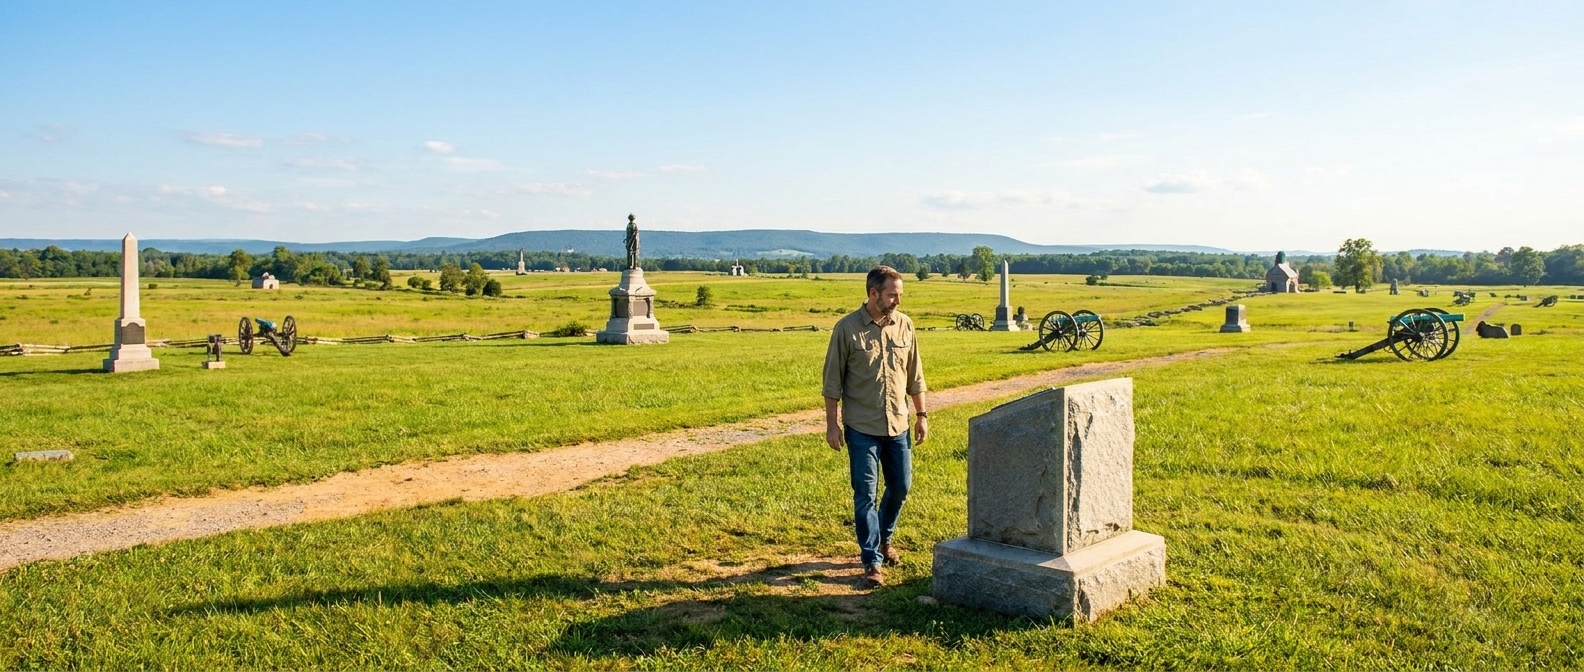
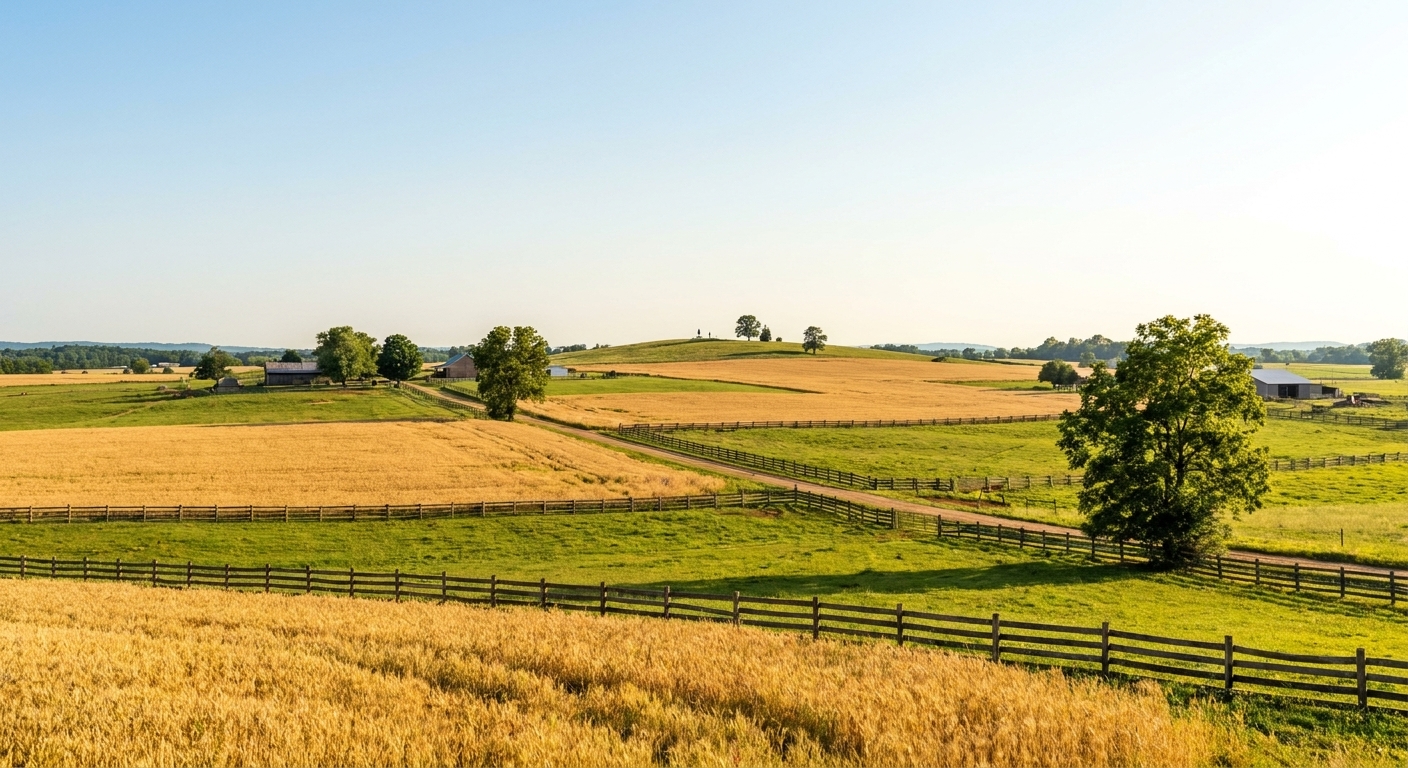
Brandy Station is often described as the day the war’s cavalry “grew up.” If you came looking for one clean, named saber charge you can hang a hook on, you will find something messier and more instructive: repeated charges and countercharges, fired at close range, breaking and reforming around key ground. Fleetwood Hill is not a mountain, but it is a commanding rise in a rolling landscape. Control it, and you control the visual center of the field. In the middle hours of the fight, as Union cavalry pressed hard, Stuart’s command was forced into rapid, close-range mounted clashes that came so fast formations blurred into a whirl of horses, pistols, and sabers.
Quick waypoint: Put your feet on Fleetwood Hill itself first, then turn and study the approaches from every direction. It is the simplest way to understand why the hill kept pulling mounted men toward it.
On the ground, look for:
- Open approaches leading up to Fleetwood Hill that made a mounted rush possible.
- Lines of sight from the crest. Stand there and you will feel why everyone wanted it.
- The “compressed” feeling of cavalry fighting near a focal point. It is not endless galloping. It is bursts of speed, collision, recoil.
Travel tip: Give yourself time to pause and turn in place. Cavalry action makes more sense when you picture the problem as a 360-degree one, not a straight line forward.
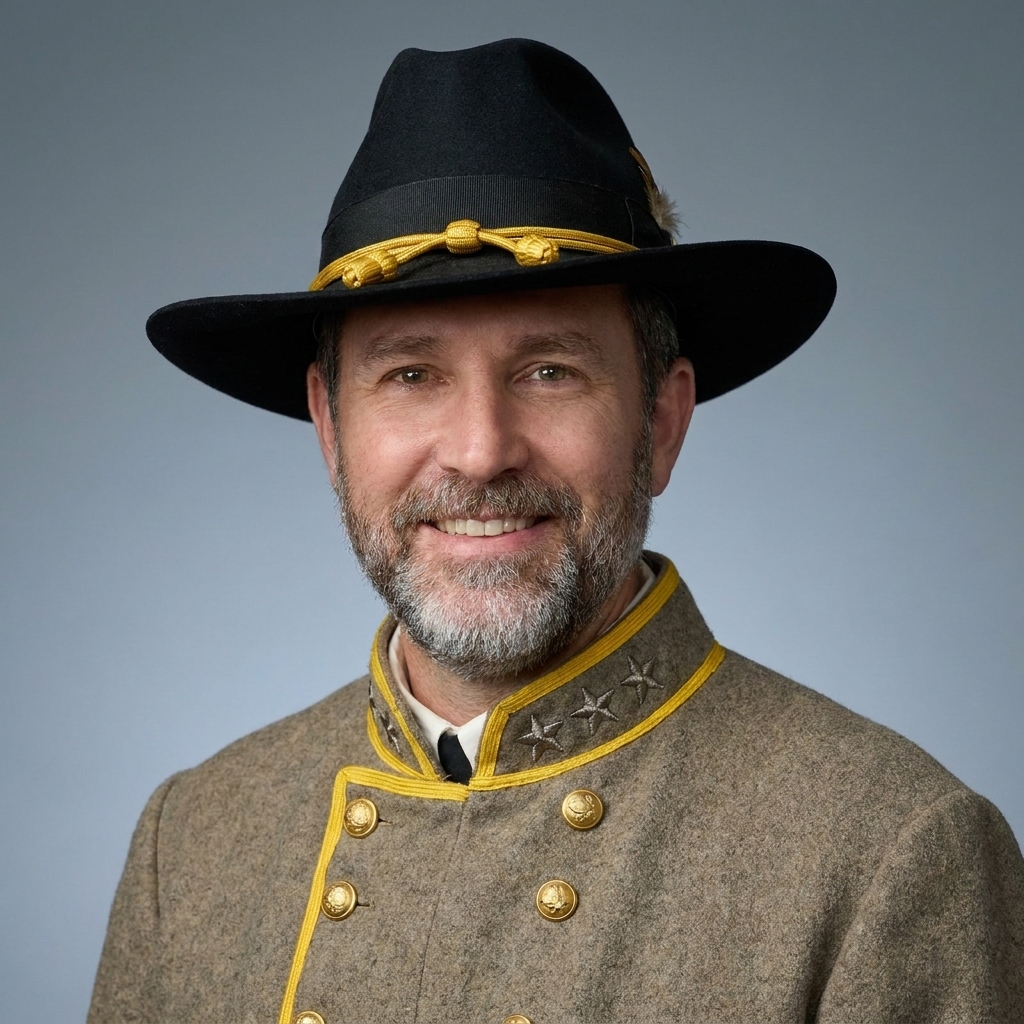
2) Nathan Bedford Forrest (Confederacy)
Forrest is a complicated figure to write about honestly because his tactical brilliance exists alongside the moral horror attached to his name, especially Fort Pillow. Both truths are part of the historical record. If we are talking strictly mounted warfare, Forrest understood speed, shock, and psychology as well as anyone in North America at the time. He also understood that cavalry is not just for raiding. Done right, it is a battlefield hammer.
Decisive action to see: Parker’s Crossroads (December 31, 1862)
Parker’s Crossroads is not as famous as Gettysburg or Antietam, but it is a sharp lesson in how Forrest fought. This is not a postcard “greatest charge” site, and it is not about one famous massed saber moment. It is better than that if you want to learn. Outnumbered and in danger of being trapped, Forrest used aggression as misdirection and mobility as an exit plan. The fighting featured sudden pressure along the road network and hard, close action that bought time and space. His men could strike, then slip away before a larger force could close its hand around them.
Quick waypoint: Start at the crossroads itself and read the lanes like a map. Cavalry decisions here make more sense when you picture who can reach the junction first, and who can be cut off from it.
On the ground, look for:
- Road junctions and lanes that shaped movement. Cavalry fights often hinge on roads more than ridges.
- Fields broken by woods, ideal for appearing, striking, and vanishing.
- Distance between positions. Stand at one point and estimate how long it would take mounted men to cover the gap at a hard trot, then a gallop.
Travel tip: When you walk the area, think like a commander trying to avoid being fixed in place. Forrest treated escape routes as part of the battle plan, not as an afterthought.
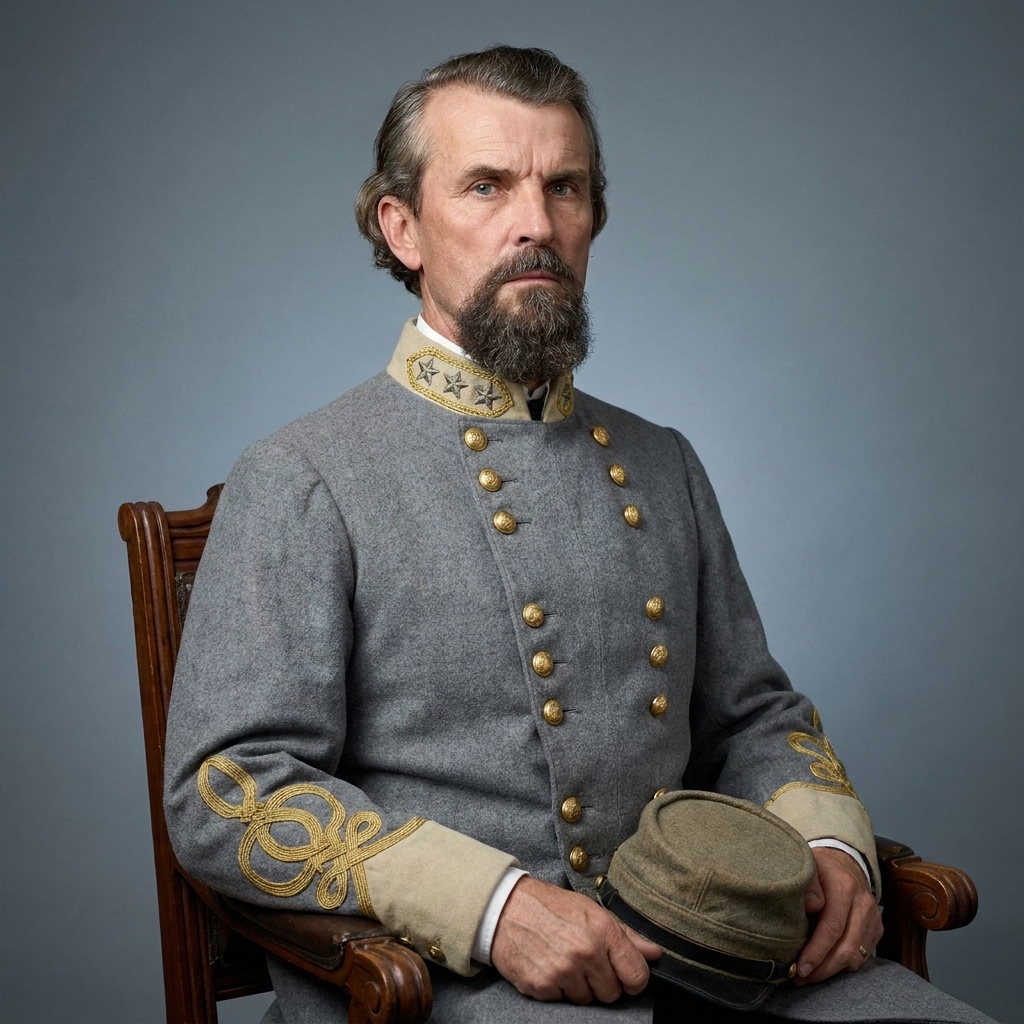
3) Philip H. Sheridan (Union)
Sheridan brought a particular kind of controlled violence to Union cavalry. By 1864, the Federal mounted arm had the numbers, remount system, and increasingly the confidence to fight mounted and win. Sheridan knew how to use that strength aggressively, but also how to tie cavalry action to the infantry’s larger purpose. When Sheridan’s cavalry did its job, it did not just look impressive. It collapsed an enemy’s ability to see, screen, and retreat in good order.
Best action to walk: Third Winchester (Opequon), September 19, 1864
The Shenandoah Valley is cavalry country: broad farmland, long sight lines, and roads that run like arteries. At Third Winchester, Sheridan’s army fought a stubborn Confederate defense. Late in the day, Union cavalry under Alfred Torbert, with divisions such as Wesley Merritt’s, pressed along the Valley Pike and nearby lanes and helped turn pressure into decision. What you feel there, even now, is room to build speed and room to get turned from the flank. Cavalry needs breathing space to gather momentum, and it wins by taking that breathing space away from the man trying to retreat.
Quick waypoint: Use the Valley Pike as your anchor line. Even when you cannot see every field from one spot, the road tells you how forces fed into the fight and how a retreat could unravel.
On the ground, look for:
- Broad, rolling farmland that allowed large mounted movement.
- Road corridors that funnel advances and retreats, especially those running toward and away from Winchester.
- Edges of woods and slight rises where dismounted skirmishing could set up a mounted push.
Travel tip: In the Valley, distances fool the eye. Before you move on, pick one reference point on the horizon and walk to it. The time and effort it takes will change how you imagine late-afternoon cavalry commitment under fire.
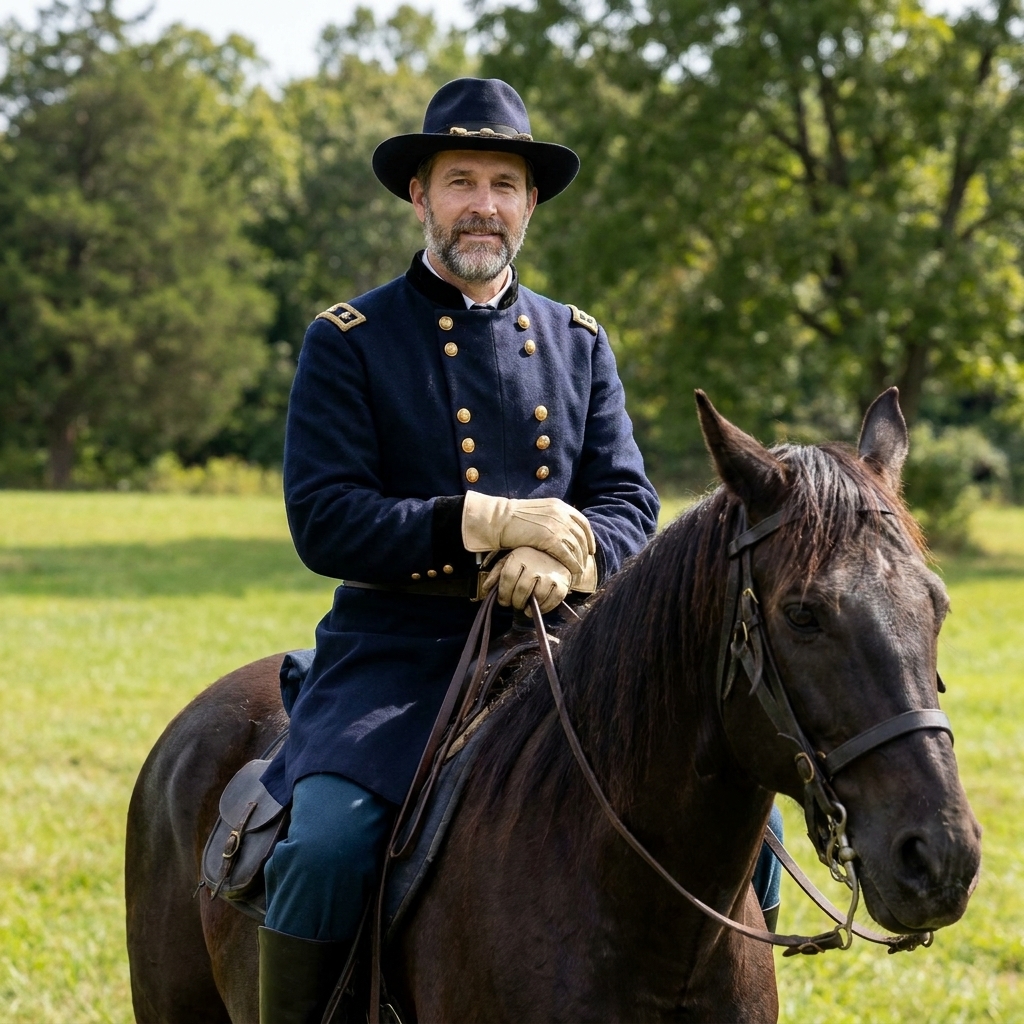
4) John Buford (Union)
Buford was not famous for theatrical saber work. He was famous for the kind of cavalry general you want when you are about to blunder into a fight you did not schedule. He understood terrain, pacing, and the priceless value of time. His best work reads almost quiet on the page, but on the ground it feels like a hand pressed firmly against the enemy’s chest, buying hours that can decide a campaign.
Best action to see: Gettysburg, July 1, 1863
Buford’s stand west of town was a cavalryman’s solution to an infantry problem: hold long enough for the foot soldiers to arrive. Much of the fighting was dismounted, with troopers using their carbines and fighting like fast infantry while their horses waited to the rear. That was not a compromise. It was the plan. Buford’s mission was delay, and he did it by placing his men where they could see, where they could sting, and where they could fall back in stages without collapsing into a rout until I Corps arrived.
Quick waypoint: Begin near McPherson Ridge, then face back toward the town and the next high ground behind you. That simple glance tells you what “delay” looks like in terrain.
On the ground, look for:
- McPherson Ridge and Seminary Ridge as two of the major speed bumps in a deeper, more complex sequence of withdrawals.
- Fences, swales, and wood lines where dismounted cavalry could fight effectively.
- Routes of withdrawal that keep you facing the enemy while giving ground.
Travel tip: Stand on one ridge and pick the next place you would retreat to. Then pick the next. Buford’s genius becomes clearer when you trace the logic of his backward steps.
If Gettysburg is on your calendar, our broader guides at Guide: Battles and Plan a Civil War Battlefield Day will help you structure a day so it does not become a blur of monuments.
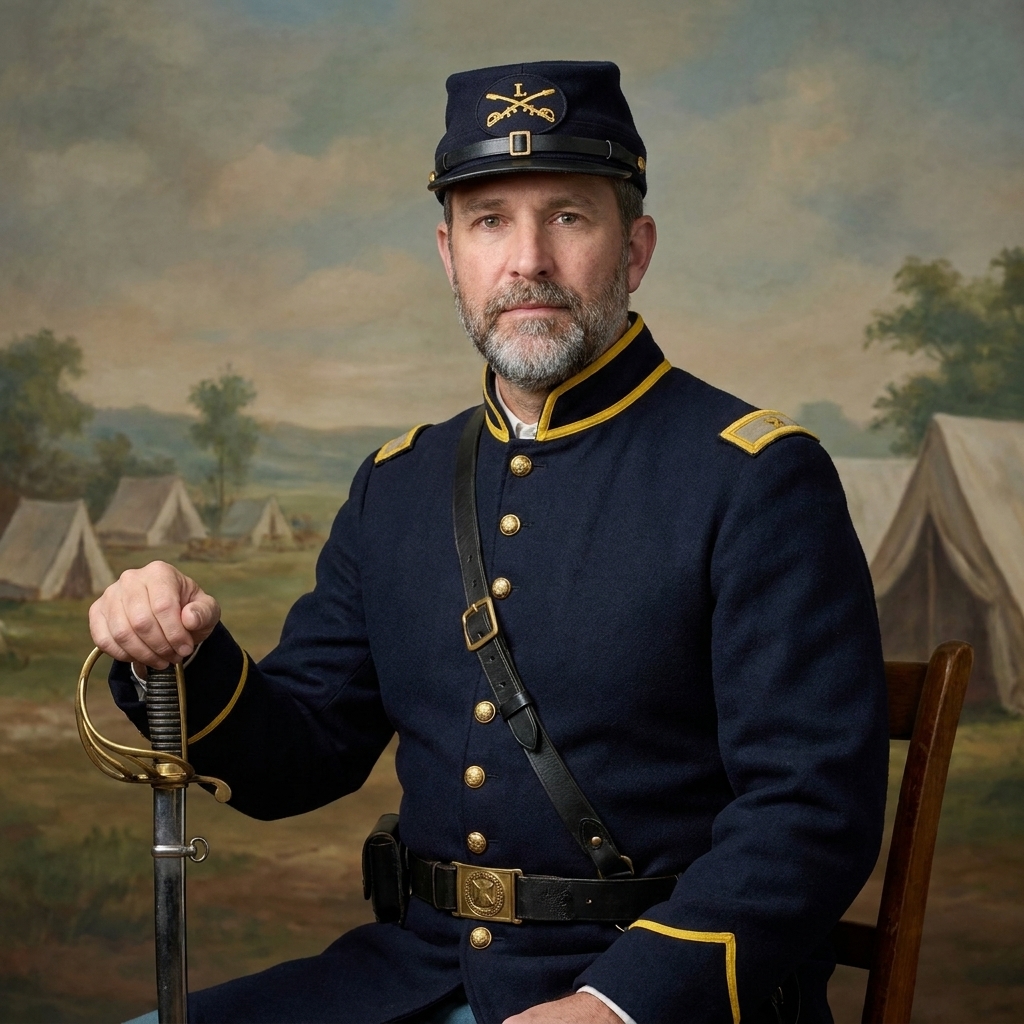
5) Wade Hampton (Confederacy)
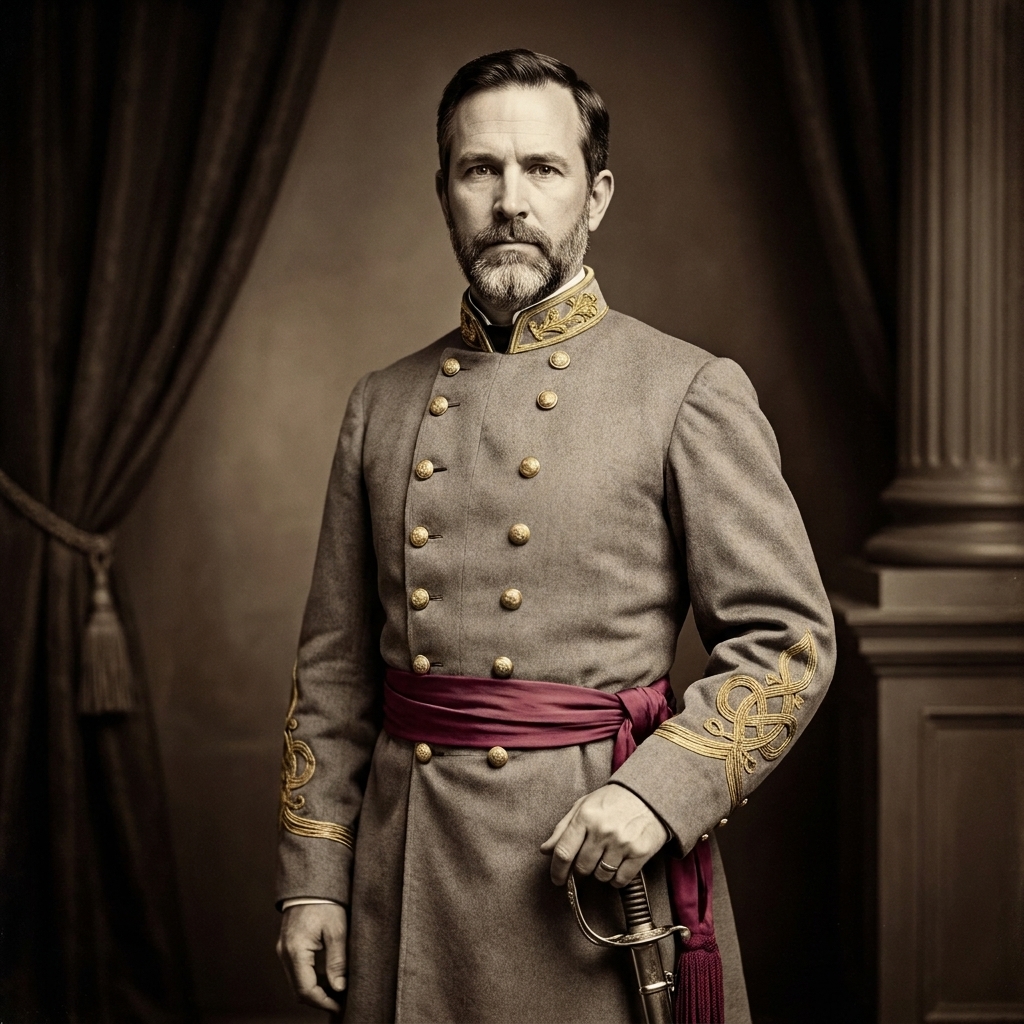
Wade Hampton often lives in Stuart’s shadow, but he should not. After Stuart’s death in 1864, the Confederate cavalry in Virginia needed steadiness, not showmanship, and Hampton provided it. He could handle large bodies of horsemen, manage logistics, and still fight hard when the moment demanded it. In the long grind of 1864, competence became its own kind of bravery.
Best battle to walk: Trevilian Station (June 11 to 12, 1864)
Trevilian Station was among the war’s largest all-cavalry fights, and it teaches a useful lesson: cavalry success is often about tempo, not glamour. Confederate cavalry under Hampton and Fitzhugh Lee met Union cavalry under Sheridan in a brutal contest of mobility, dismounted fire, and sudden mounted thrusts. The “charge” element here is rarely one clean Hollywood moment. It is repeated surges into opportunities, the kind of fighting where a commander’s control of timing matters as much as raw courage.
Quick waypoint: Orient yourself using the station area and the rail line corridor. Even when the woods hide long views, the railroad-related ground explains why both sides kept getting sucked into the same contested space.
On the ground, look for:
- Railroad-related terrain and how it drew forces like a magnet.
- Mixed woods and open ground that forced cavalry to shift between mounted and dismounted tactics.
- How quickly the landscape closes in once you leave open fields. That is where control can break down.
Travel tip: When you visit cavalry battlefields with lots of woods, stop often and listen. Limited visibility was part of the fear and part of the command challenge.
What to bring
I keep my kit simple. You do not need gadgets to understand a charge, but you do need to be comfortable enough to slow down and think.
- Good walking shoes: cavalry ground often means fields, uneven farm lanes, and muddy edges.
- A small notebook: write down what you can see from each rise, especially roads and fence lines.
- Water and a snack: you will walk farther than you expect if you try to trace approaches and retreats.
- A sense of scale: count your steps across a field and estimate distance. It helps you feel the time a mounted move required.
And one more thing: let yourself stand still. Mounted actions were fast, but the decisions behind them were often made from quiet places, by men staring at the same kind of ordinary landscape you are looking at now.
A note on charges
Some readers expect every cavalry highlight to be a full-tilt saber charge. In the Civil War, the most effective cavalry commanders constantly mixed methods. They charged when the enemy was already wavering, when ground was open, and when timing was right. Just as often they fought dismounted, used feints, seized crossroads, or screened an army so well the other side felt blind.
I will add one more honest boundary on a list like this. Plenty of excellent cavalry leadership unfolded in the Western Theater too, and some of it is harder to “read” today depending on preservation and access. I kept this list tight and walkable: places where the ground still tells the story without asking you to imagine the whole thing from a parking lot.
If you walk away with one idea, let it be this: cavalry is not just speed. It is information, pressure, and the ability to appear where you were not expected.